Managing Multiple Projects
Intelligent Discovery lets you create and manage multiple projects so you can work with different system configurations or track multiple implementations. Projects can be organized into groups, cloned for similar configurations, and deleted when no longer needed.
Viewing all projects
To see all your projects:
- Navigate to the All Projects view from the main dashboard.
- You see a list of all projects you have created, organized by project groups.
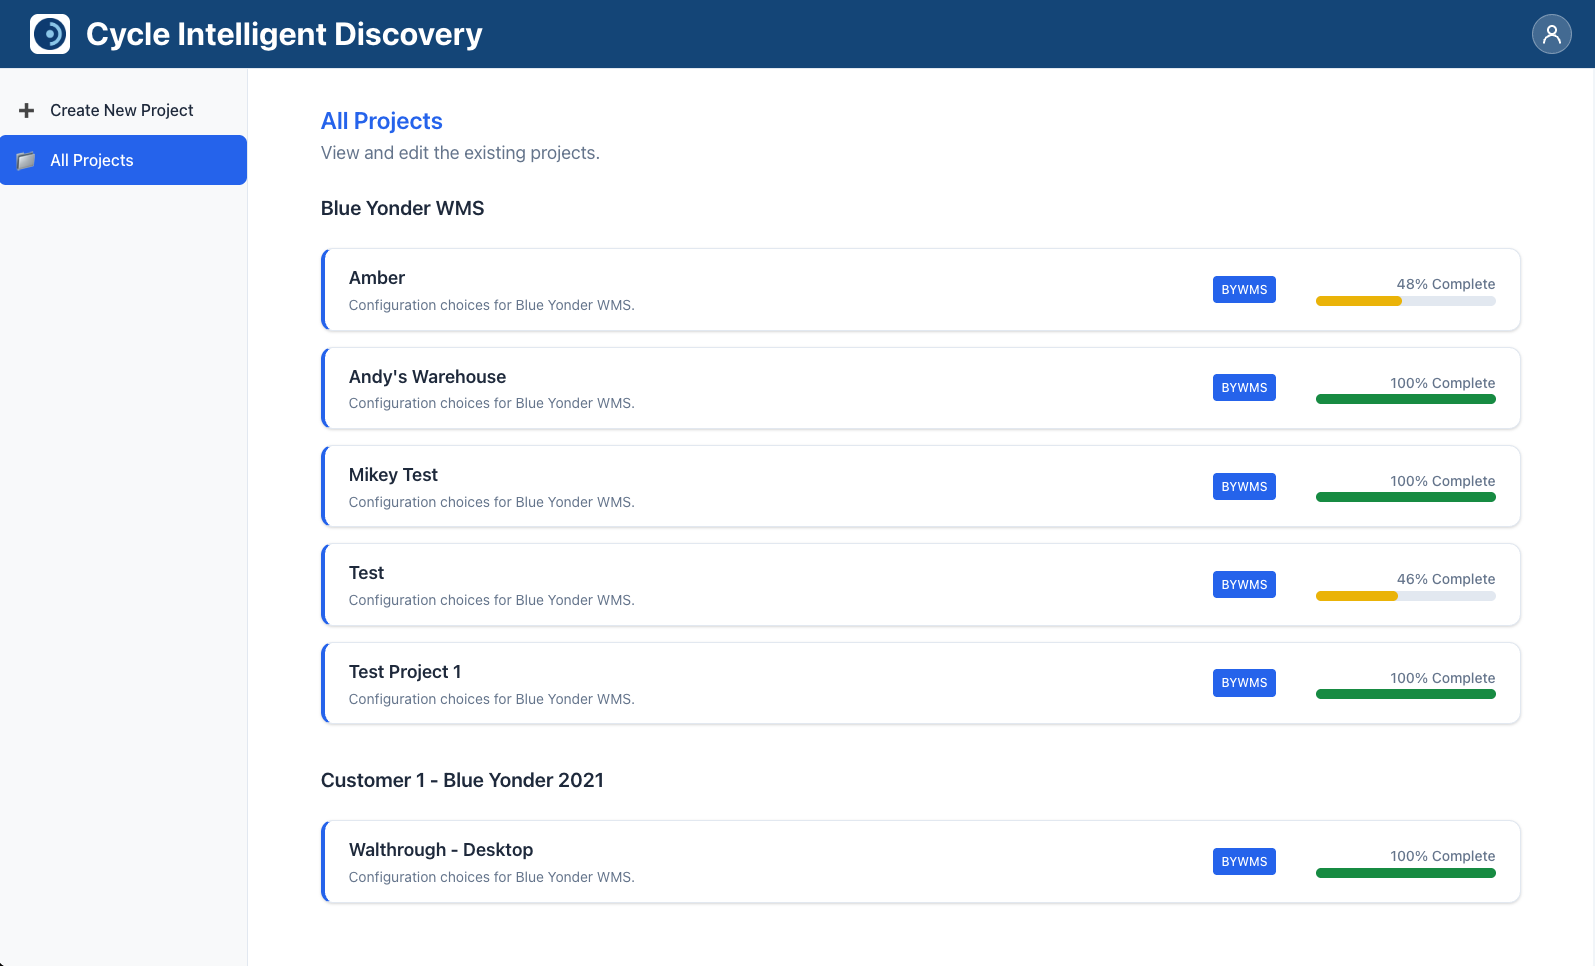
The projects page displays each project with:
- Project Name: The name you assigned to the project
- Project Description: The description you provided (or the default project type description)
- Project Type Badge: A badge showing the project type (for example, "bywms" for Blue Yonder WMS)
- Completion Percentage: A visual progress indicator showing how complete the project is
- Completion percentage as text (for example, "75% Complete")
- A progress bar with color coding:
- Red: 0-33%
- Yellow: 34-66%
- Light Green: 67-99%
- Dark Green: 100%
Projects are sorted alphabetically by name within each group.
Project groups
Projects are organized into groups to help you manage related projects together. Groups make it easier to:
- Organize projects by client, location, or implementation phase
- Compare similar configurations
- Keep related work together
How groups work
- When you create a project, you assign it to a group (either an existing group or a new one).
- Projects in the same group are displayed together on the All Projects page.
- Groups are sorted alphabetically.
- You can change a project's group at any time by editing the group name on the project page.
Creating and using groups
- New groups: When creating a project, you can type a new group name to create it.
- Existing groups: Use the autocomplete feature when entering a group name to select from existing groups.
- Changing groups: Edit the group name on a project's page to move it to a different group.
Use consistent group naming conventions to make it easier to find and organize your projects. For example, you might use groups like "Client A - Phase 1", "Client A - Phase 2", or "Warehouse Locations".
Cloning projects
Cloning a project creates an exact copy of an existing project, including all answers. This is useful when:
- You want to create a similar project with minor variations
- You need to test different configuration scenarios
- You want to preserve a snapshot of a project before making major changes
Cloning a project
- Navigate to the project you want to clone.
- Click Clone Project.
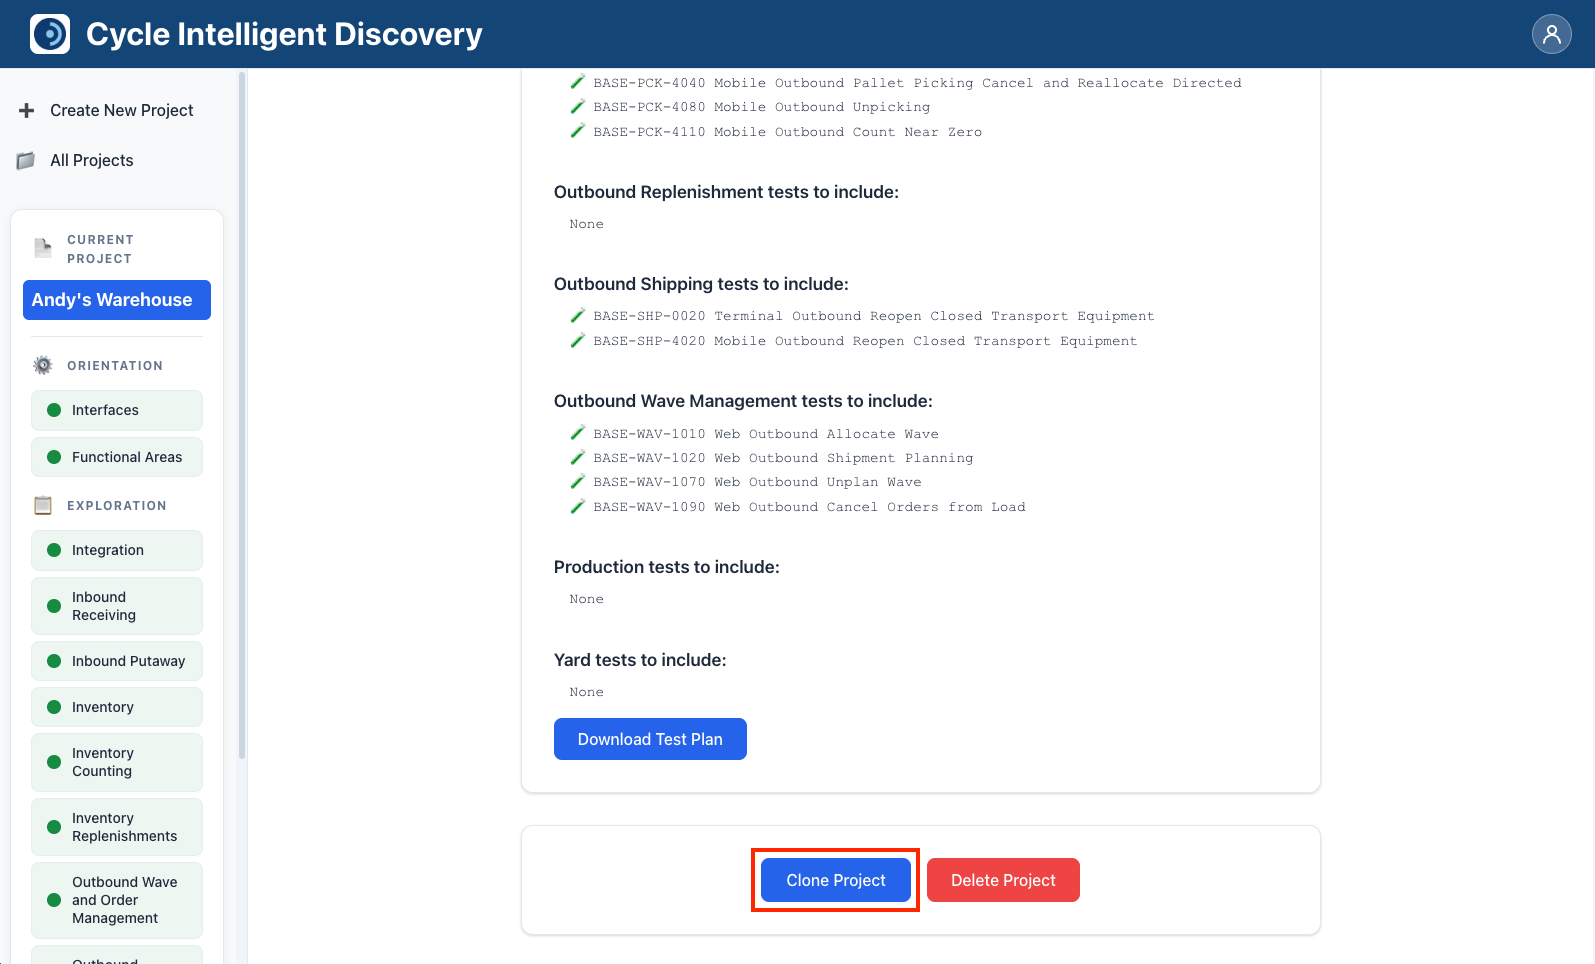
- A new project is created automatically with:
- The same name as the original, with " copy" appended (for example, "Warehouse A" becomes "Warehouse A copy")
- All the same answers as the original project
- The same group as the original project
- A new unique project ID
- You are redirected to the new cloned project page.
After cloning
Once cloned, you can:
- Rename the project to something more descriptive
- Change the group if needed
- Modify answers to reflect the new configuration
- Edit the project description
The cloned project is completely independent of the original, so changes to one do not affect the other.
Deleting projects
You can delete projects that are no longer needed. Deletion is permanent and cannot be undone.
Deleting a project
- Navigate to the project you want to delete.
- Click Delete Project.
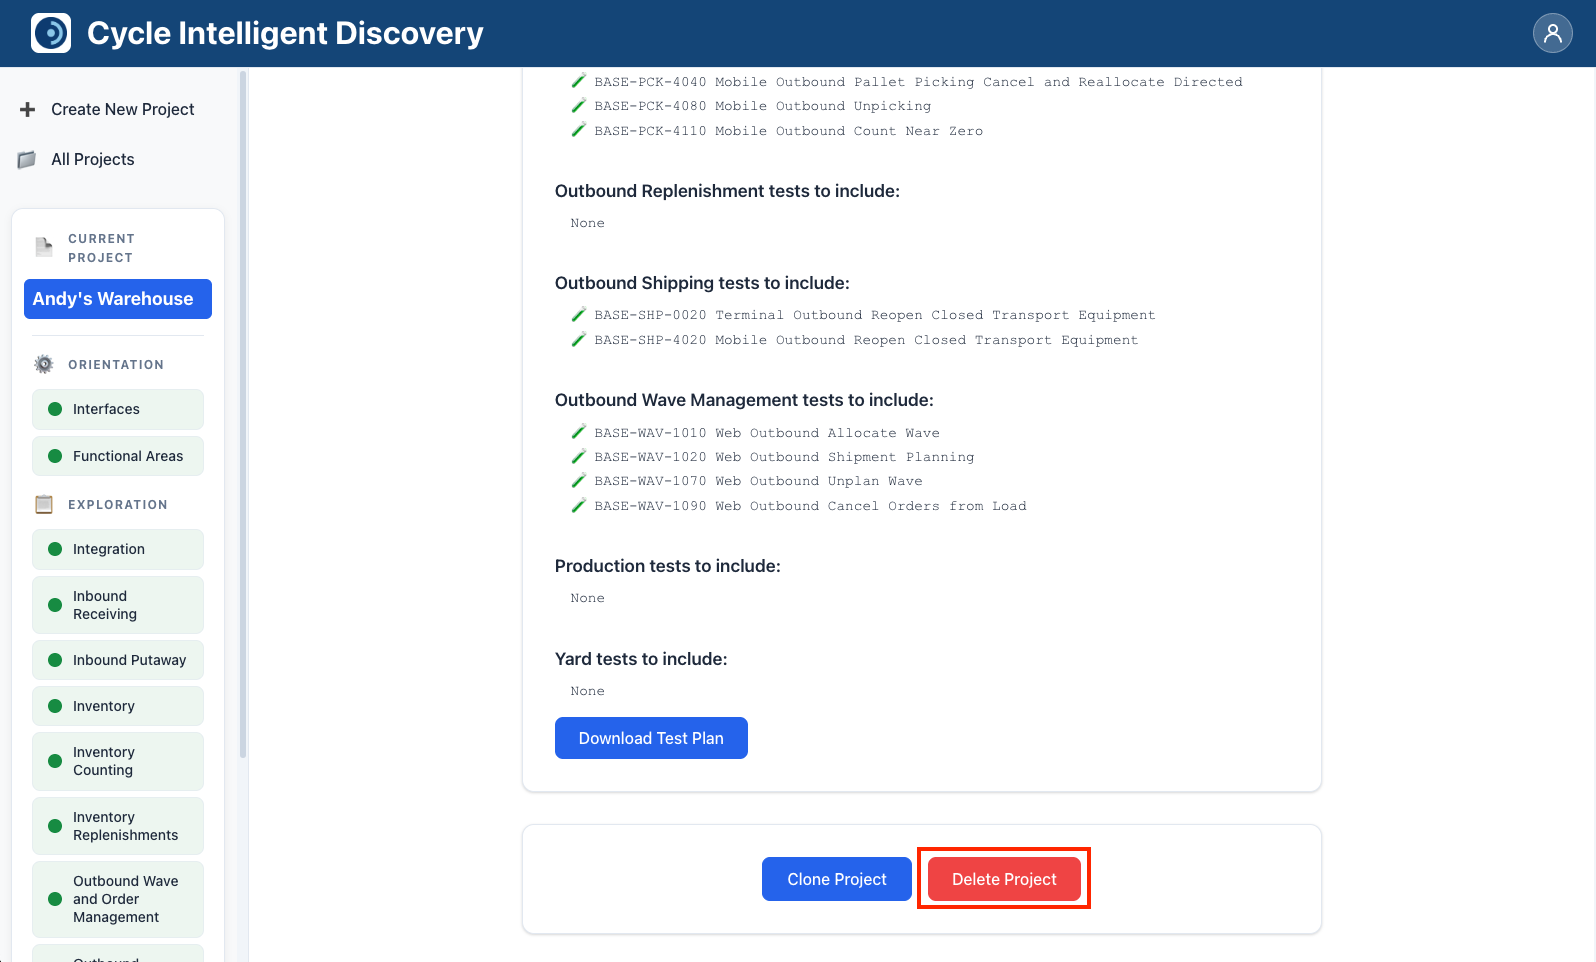
- A confirmation dialog appears asking you to confirm the deletion.
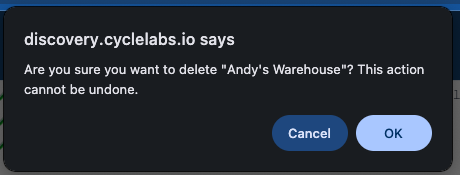
- Review the confirmation message, which shows the project name.
- Click OK or Confirm to proceed with deletion, or Cancel to abort.
What gets deleted
When you delete a project:
- The project record is removed
- All answers associated with the project are deleted
- The project disappears from your projects list
- If the project was the last project in its group, the group is also automatically deleted
Deletion is permanent. Make sure you have downloaded any test plans or exported any data you need before deleting a project.
Group cleanup
If you delete the last project in a group, the group itself is automatically deleted. This helps keep your project groups list clean and organized.
Organizing your projects
Here are some tips for managing multiple projects:
- Use descriptive names: Choose project names that clearly identify what they represent.
- Leverage groups: Organize related projects into groups to make them easier to find and manage.
- Track completion: Use the completion percentages to prioritize which projects need attention.
- Clone strategically: Use cloning when you need similar configurations rather than starting from scratch.
- Regular cleanup: Periodically review and delete projects that are no longer needed to keep your workspace organized.
- Document in descriptions: Use project descriptions to note important details or changes, especially for cloned projects.
By managing multiple projects well, you can use Intelligent Discovery to track and analyze multiple system configurations.